
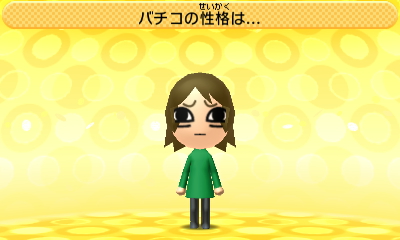
今回は、トモコレのオリジナルMiiの作り方を解説したいと思います。
オリジナルMiiの作り方
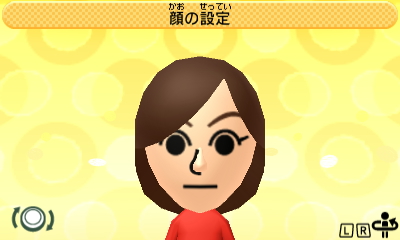
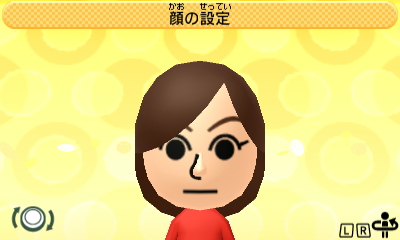
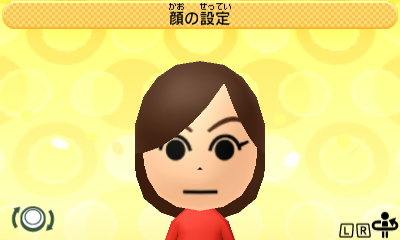
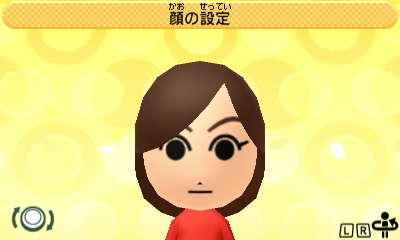
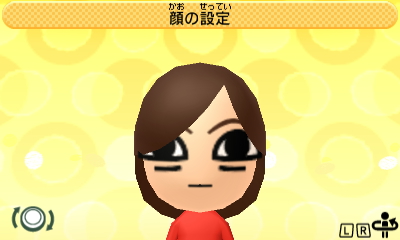
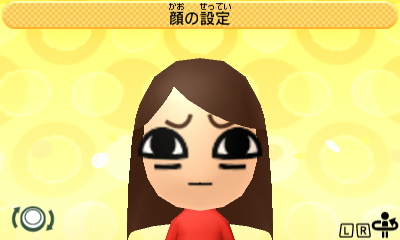
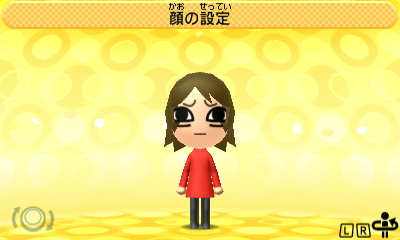
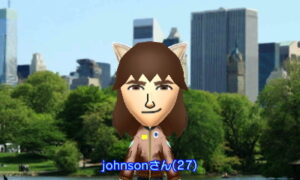
今回は例として女の子を選びました

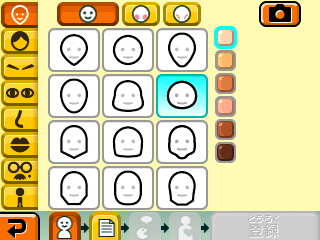
まず輪郭を選びます。その他チークやホクロなどはお好みでつけて下さい。
鼻もお好みで設定して下さい。(私は三角の鼻を選択し、限界まで小さくしてから口にしたいところの位置まで持っていきました。)
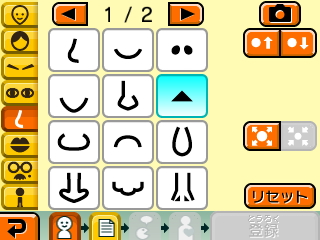

口を少し小さくして、鼻のところに口を持っていって鼻を口で隠すと鼻が無いような顔にする事も出来ます。
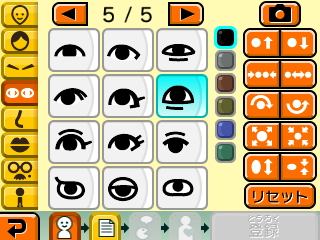
好きな目を選択。目の色も好みの色に調整しましょう。
目を限界まで拡大したら、少しだけ目の距離を離します。目の位置を一つ下や上にずらすと、顔の印象が変わります。

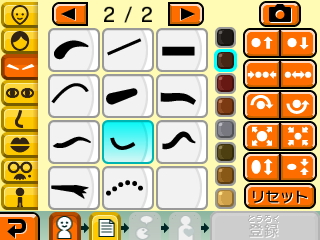
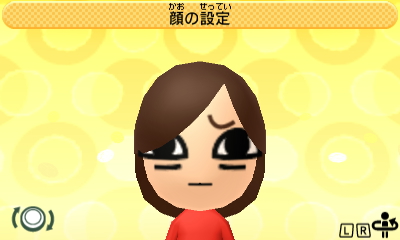
眉毛を選びます。小さくして、上に持っていって調整します。
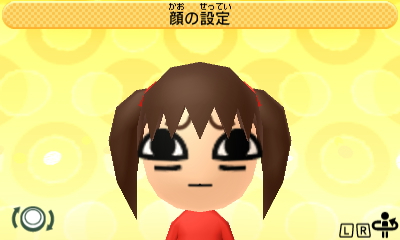
次に髪型を選びます。
前髪を左右反転できる髪型もあるので、いろんな髪型を試してみましょう。
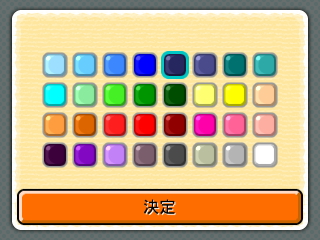
髪色も好みに調整してください。
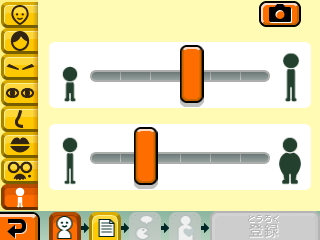
身長と体型を選びます。
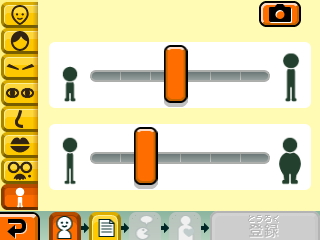
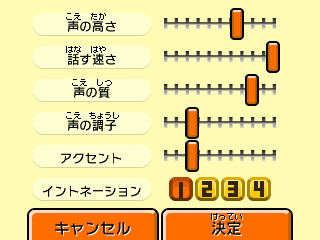
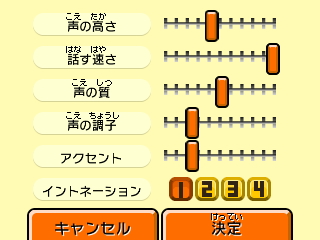
声や名前などキャラの特徴を選択していきます。
可愛い声にしたい場合は、話す速さをMAX、声の質を右寄りにすると良いです。

男の子のオリジナルMii
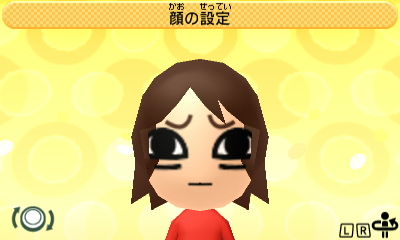
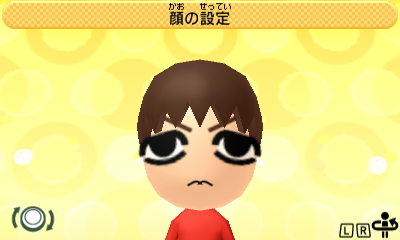
例として、今度は男の子も作っていきます。まずは顔の設定から。輪郭は丸顔を選びました。
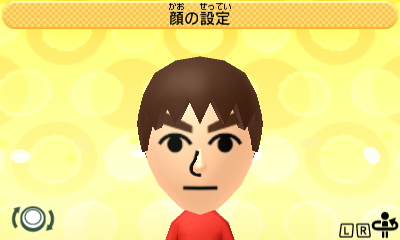

キャラの顔の印象は八割ぐらいが目で決まると思います。目が違うだけで印象がとても変わりますね。

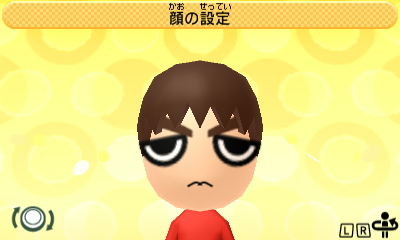
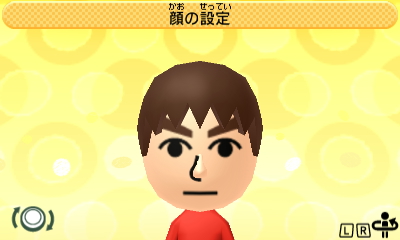
目を下に回転して、口や眉を変えてみました。良い感じです。

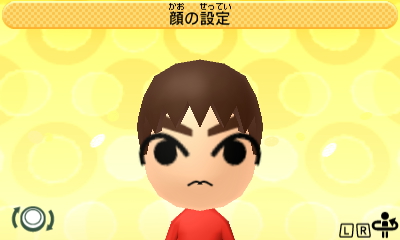
ちょっと身長高めにしてみました。声も低めに。
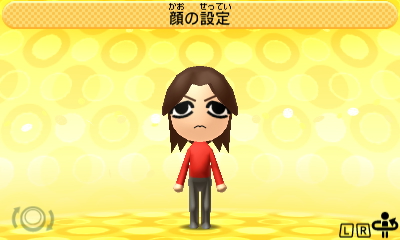
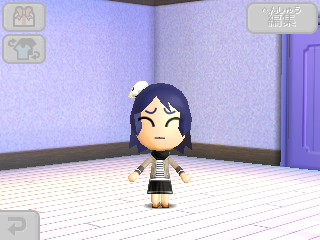
これで完成です。

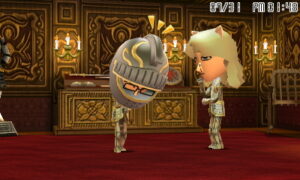
着替え
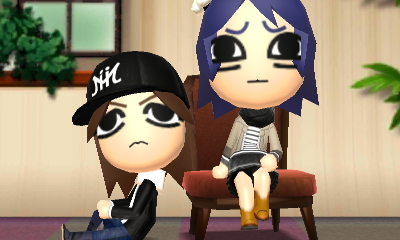
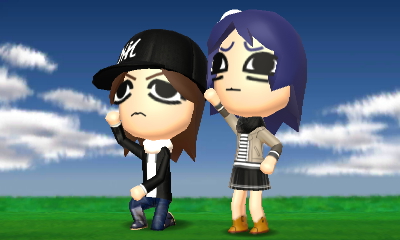
作ったMiiふたりをお着替えさせてみます。
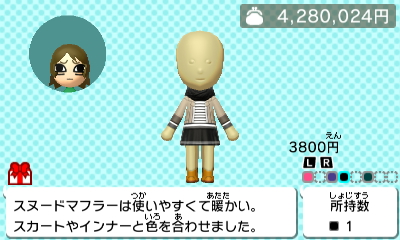
Miiに似合う服を着させます。帽子やアクセサリーも選んであげましょう。
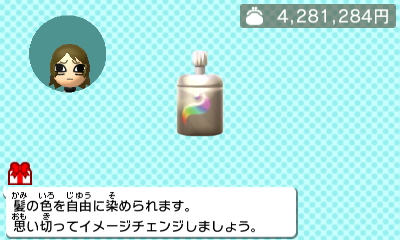
毛染めスプレーを使って、髪色を変えます。気を付けてほしいのが、Miiを風呂に入れると染めた毛が落ちて元の髪色に戻ってしまうので私はMiiが風呂に入りたいと言っても可哀想ですがスルーしています。
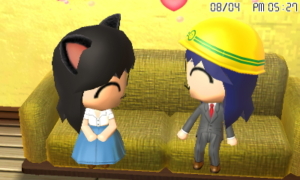
部屋を選ぶ
部屋もプレゼントしました。かなりそれっぽいですね。


まとめ

今回はトモコレのオリジナルMiiの作り方を解説しました。
個人的には頑張って解説しましたが、もし質問がありましたらお気軽にコメント下さい。
この記事を参考に、オリジナルMii作りを楽しんでくれたら嬉しいです。
コメント